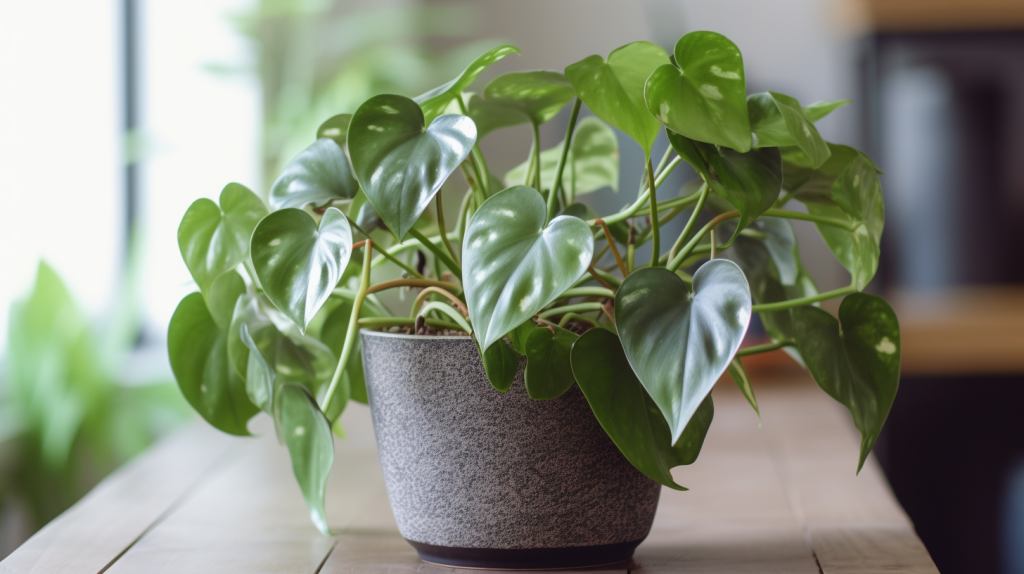
12 Essential Tools for Indoor Plant Care
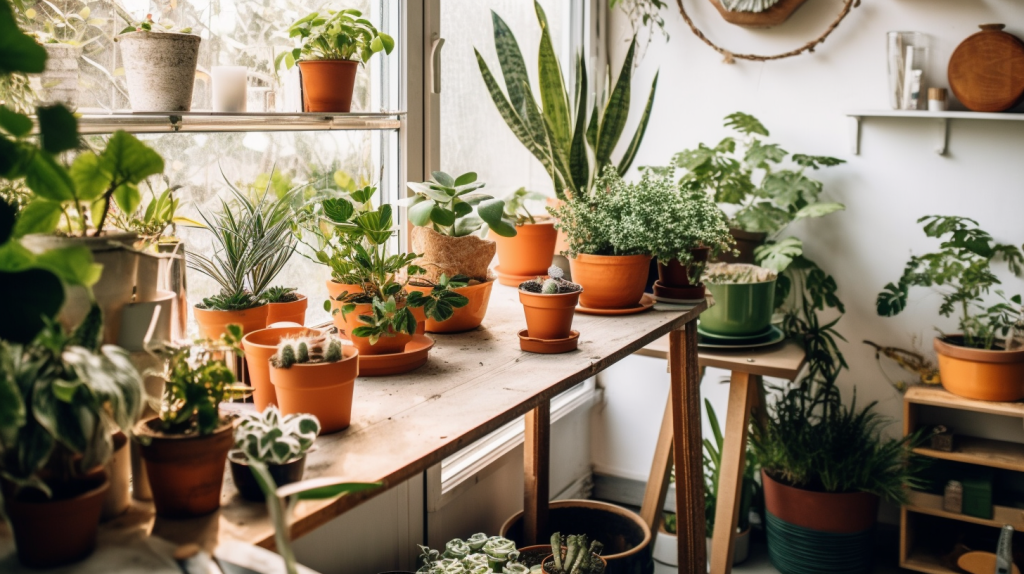
If you love buying houseplants but struggle to keep them alive, there’s a good chance it’s because watering them and caring for them starts to feel like a burden. More often than not, those frustrations are caused by not having the right tools and accessories to make the job simple and joyful.
You’ve been using kitchen cups to water your plant pals, haven’t you? Probably cursing when water spills everywhere! We’ve been there, too… and it’s not fun. That’s why we put together this list of 12 Essential Tools that will bring the joy back to caring for your plant collection.
Think of these tools as the “green team” that’ll help you provide the best TLC for your leafy friends. These must-have tools will transform you from flailing and failing plant rookie into a bona fide indoor gardener. Let’s dig in and unearth the secrets to growing a thriving indoor jungle.
Ready, set, grow!
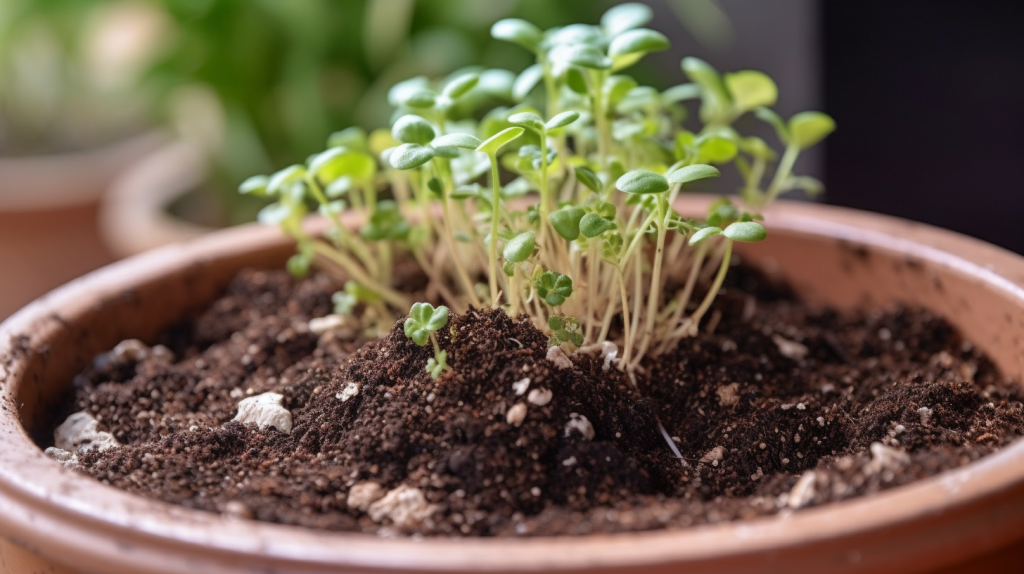
1. Potting mix
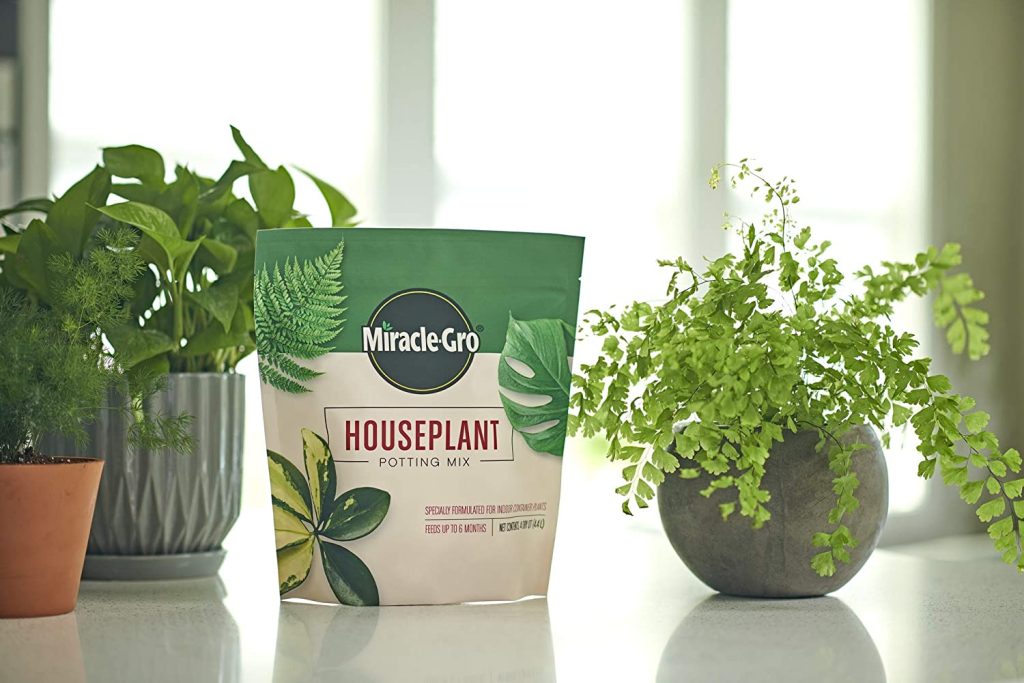
Most plants come in absolutely terrible soil when you purchase them. It’s often too dense, lacking drainage, root bound, dried out, or lacking nutrients. It’s always a good idea to repot your newly acquired plants with new potting mix when you bring them home.
Selecting the right mix is a crucial aspect of plant health, providing proper drainage, aeration, and root development. A quality mix typically contains a blend of ingredients like peat moss, coco coir, perlite, or vermiculite, which work together to create a well-draining, nutrient-rich environment for your plants.
For most houseplants, a general-purpose potting mix with added perlite or vermiculite for improved drainage works well. Succulents and cacti, on the other hand, require a specialized soil mix with a higher sand content to mimic their arid natural environment. Some plants, like orchids or African violets, have unique soil preferences and may need specific potting mixes designed for their needs.
As a beginner, start with a reputable all-purpose mix like Miracle-Gro Houseplant Potting Mix. Buy extra to make sure you’ve always got some on hand. As you develop your skills and interest, you can try customizing the potting mix to suit the specific requirements of your plant species.
2. Trowel
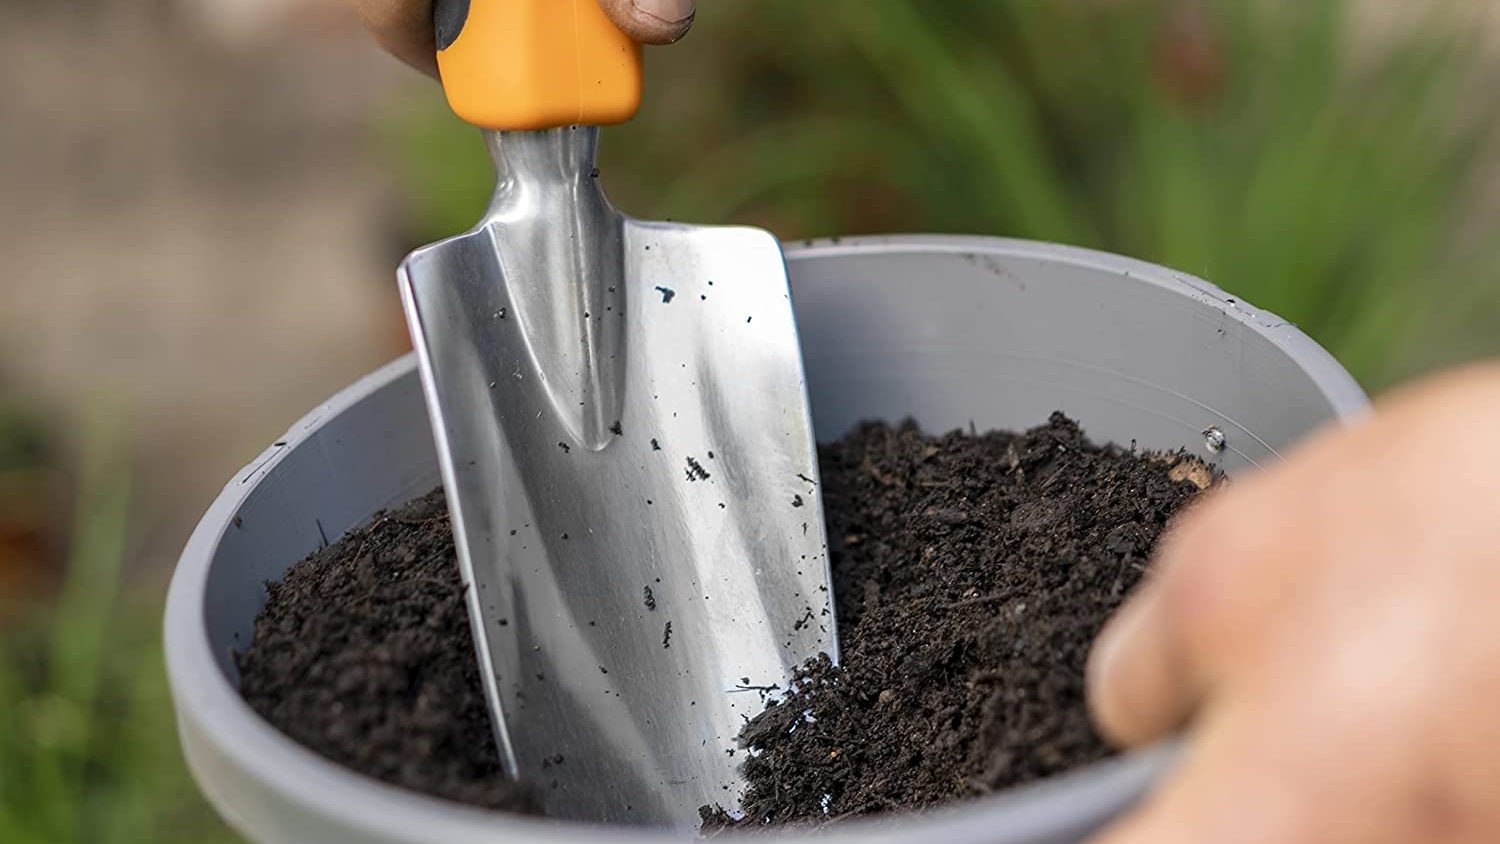
A small trowel is the perfect tool for transferring potting mix when repotting plants (or adding soil to an existing pot). The compact size and pointed blade make it easy to scoop up soil and maneuver within the confined space of a pot.
In addition to transferring soil, a small trowel can also help with tasks like digging small holes for planting seeds or seedlings, loosening compacted soil, or even gently removing a plant from its pot when it’s time for repotting.
A trowel will quickly become one of your most reliable plant care tools, helping you get things done quicker and cleaner, minimizing mess and frustration. Make sure you get a trowel with a stainless-steel blade and comfortable grip: we recommend the Fiskars Ergo Trowel. It’ll prove to be among the most handy and reliable tools in your plant care kit.
3. Transplanting tool
While a trowel is perfect for transferring potting mix, a transplanting tool has a longer and narrower blade, specifically designed for digging deep under plant roots. This feature allows you to safely lift and move plants without damaging their delicate root systems. It can also help you to dig deep, precise holes for placing transplants and seeds.
Transplanters are particularly useful when you’re moving a bunch of plants to larger pots. One of our favorites is the Fiskars Big Grip Transplanter- it will make repotting or relocating your indoor plants a breeze. That being said, if you’re just starting out or only have a couple plants, you’ll be perfectly fine with one small trowel. You can always expand later!
4. Cultivator
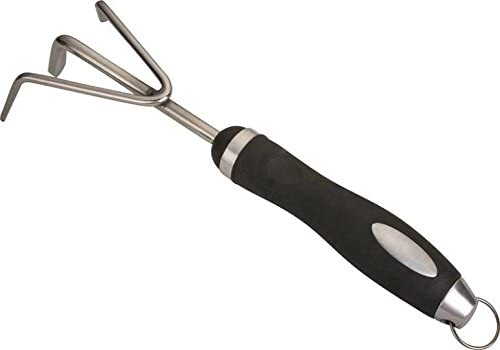
Cultivators are often associated with outdoor gardening, but they can also play a crucial role in indoor plant care. Here are three ways this simple but versatile tool can boost your indoor gardening game:
- Loosening and aerating soil: A compact cultivator is perfect for gently loosening and aerating the soil around your indoor plants, ensuring proper air circulation and water penetration. This process is especially important for plants that are prone to compaction, as compacted soil can restrict root growth and limit nutrient uptake.
- Mixing in fertilizer: A cultivator is an ideal tool for blending in granular fertilizer or other soil amendments, like perlite or vermiculite, without disturbing the roots of your plants.
- Weeding: Although it’s not as common with indoor plants, sometimes pesky weeds can still find their way into your pots. A small cultivator can help you uproot them without damaging your plant’s roots.
When choosing a cultivator, look for one with a durable, rust-resistant construction and a comfortable grip: we recommend the Edward Tools Hand Cultivator.
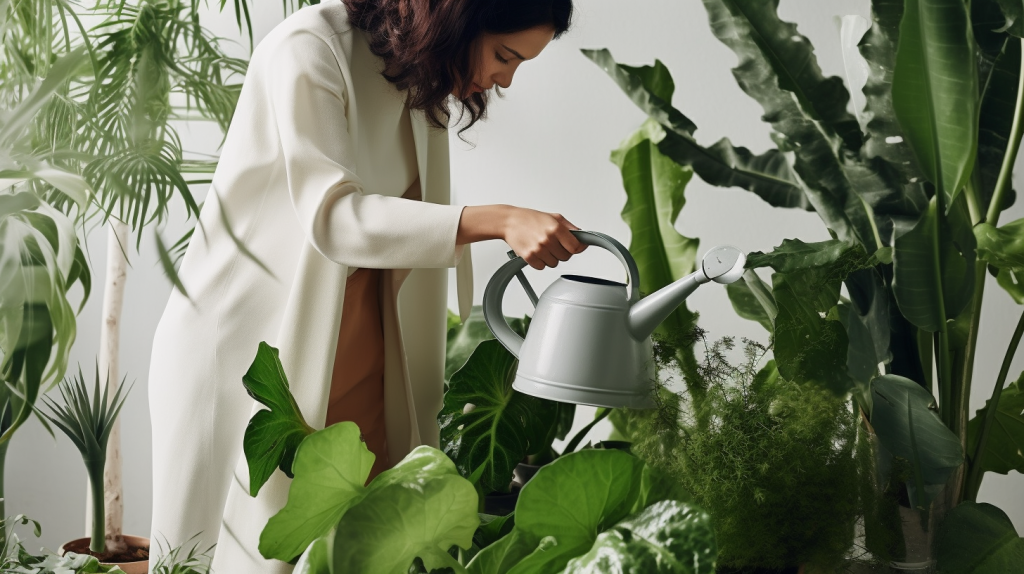
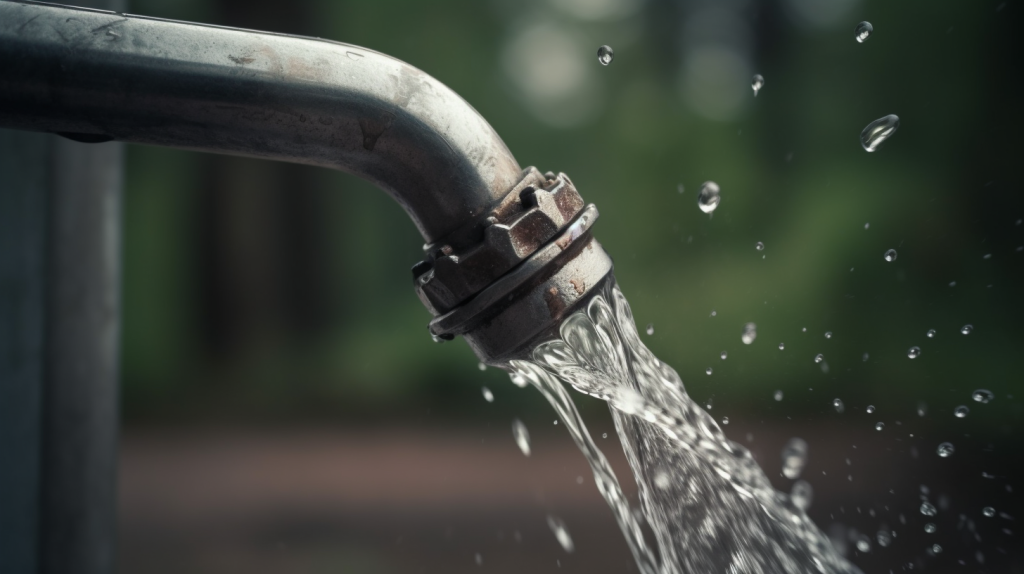
5. Watering can
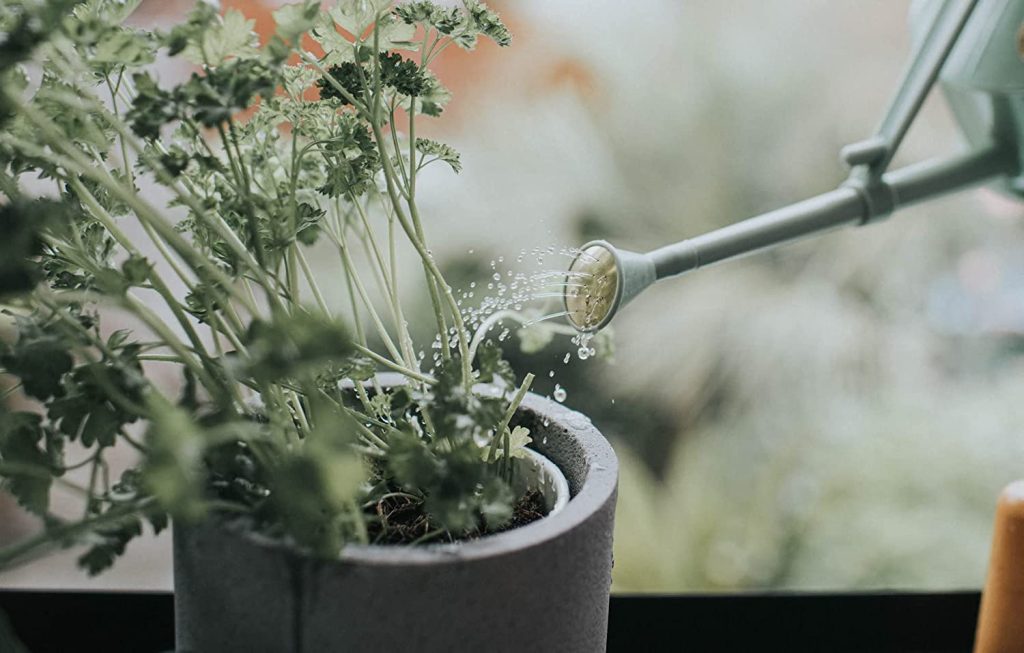
A watering can is an essential tool for indoor plant care because it allows you to control the amount and distribution of water to your plants.
Make sure to get a watering can with a long, narrow spout so that you can target the base of the plant with precision. This will prevent water from splashing on the leaves, otherwise causing potential damage to both your plant and surfaces. If you’ve been watering your plants without a watering can, you’ve really been missing out. Plant life after a watering can is so much more enjoyable… it’ll make you wonder how you ever lived without one!
You can also get a rose attachment which is essentially a shower head for your watering can. This is great for seedlings and small plants since the water trickles much more lightly out of the spout, ensuring the plant isn’t disturbed.
These days, many watering cans are multi-purpose, featuring adjustable settings that adjust the strength and spread of the water output. We recommend the Haws Handy Plastic Indoor Watering Can.
6. Moisture Meter
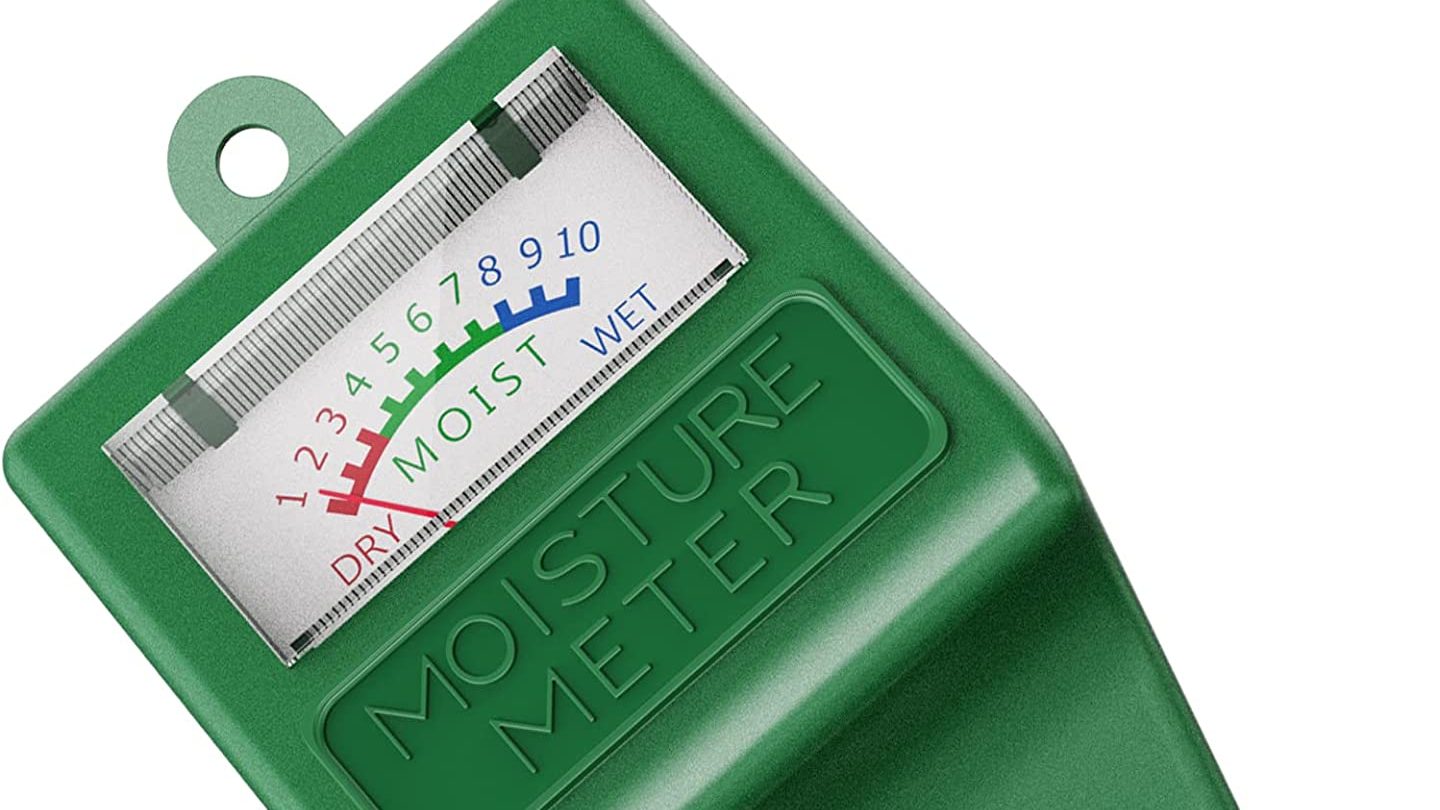
A moisture meter is an invaluable tool that helps you measure the moisture level of your plant’s soil, ensuring that you’re not overwatering or underwatering your plants. If you want to take the guesswork out of knowing when to water, which is 99% of the challenge for most plant owners, then you’ll love this tool.
There are two main types of moisture meters:
- Electronic moisture meters
- Analog moisture meters
Electronic moisture meters work by using battery-powered sensors, typically two metal probes, to measure the soil’s moisture level. When the probes are inserted into the soil, they detect the amount of water present by measuring the soil’s electrical conductivity. Since water conducts electricity, the meter can determine the moisture level based on the electrical resistance between the probes. The device then displays the resistance on a scale, usually between “Dry” and “Wet”.
Electronic moisture meters often come with additional features, such as built-in light and pH meters, to help you monitor your plant’s overall health. A popular electronic moisture meter is the Dr. Meter Soil Moisture Sensor Meter, which offers precise measurements and an easy-to-read LCD screen.
Analog moisture meters use a basic mechanical mechanism called a galvanic cell to provide a rough estimate of soil moisture levels. A galvanic cell is created when two different metals are inserted into the soil and connected by an electrolyte. In the case of an analog moisture meter, the soil acts as the electrolyte, and the metal probes serve as the two different metals. When the probes are inserted into the soil, the moisture in the soil allows a small electric current to flow between the probes. This current is then translated into a moisture level reading by the meter, which is typically displayed on a simple gauge or scale.
Analog moisture meters do not require batteries, but their accuracy can be affected by various factors, such as soil composition and temperature. A well-known analog moisture meter that we recommend is the Dr. Meter Soil Moisture Meter, which is affordable and easy to use.
For beginners, we recommend starting with an electronic moisture meter due to its higher accuracy and additional features. However, if you’re looking for a budget-friendly option, an analog moisture meter can still provide valuable insights into your plant’s watering needs. Ultimately, the choice depends on your preferences and budget.
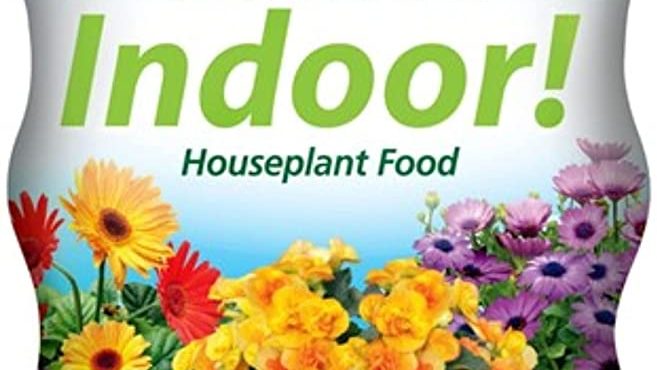
7. Houseplant Fertilizer
While some nutrients are available in the standard potting mix, they’ll be depleted over time, making it essential to supplement your plants’ diet with a good houseplant fertilizer. Neglecting to do so can stunt growth, lead to yellowing leaves, and result in a less vibrant appearance.
There are several types of houseplant fertilizers available, including granular, liquid, and slow-release formulations. Granular fertilizers are mixed into the soil, while liquid fertilizers are typically diluted in water and applied during watering. Slow-release fertilizers come in the form of small pellets that gradually release nutrients over time.
You can also choose between organic fertilizers and synthetic fertilizers. Organic fertilizers are derived from natural sources, such as worm castings or fish emulsion. Synthetic fertilizers are chemically engineered and offer a more precise nutrient composition.
For beginners, we recommend a balanced liquid fertilizer like Espoma Indoor! Liquid Plant Food, which makes it easy to measure and evenly distribute the proper dosage throughout the soil.
Take special note of the letters N-P-K on the packaging of whatever fertilizer you choose. Each will have a number that represents the percentage of nitrogen (N), phosphorus (P), and potassium (K) they contain. Nitrogen promotes foliage growth, phosphorus supports root development and flowering, and potassium contributes to overall plant health and disease resistance. Be sure to choose a fertilizer with a balanced N-P-K ratio suited to your specific plants’ needs.
Most houseplants benefit from fertilization every 4-6 weeks during the growing season (spring and summer) and less frequently during the dormant period (fall and winter). Over-fertilizing can be more damaging to not fertilizing them at all, so be sure to follow the manufacturer’s suggested fertilization guidelines. And then enjoy those beautifully vibrant plants!
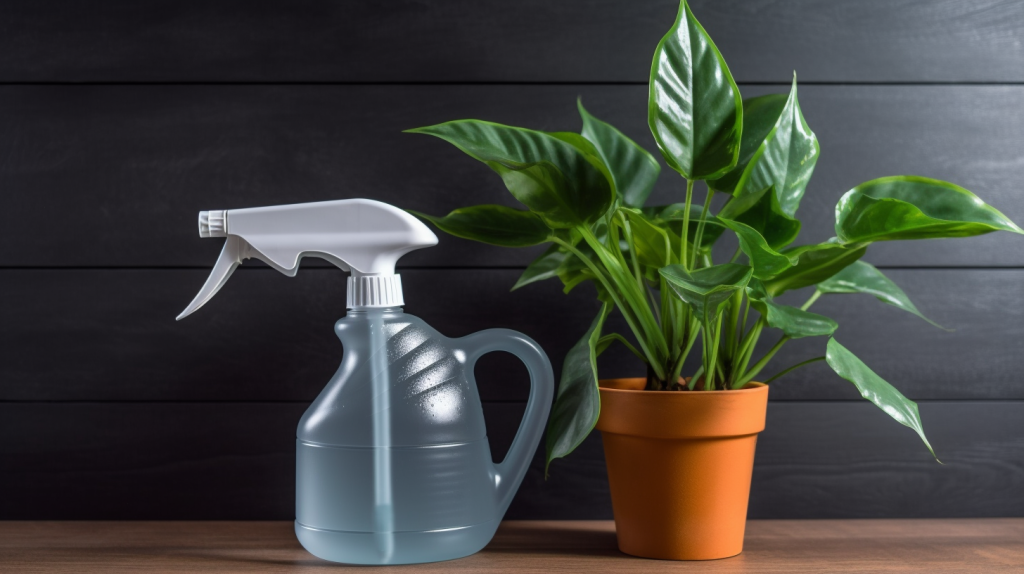
8. Spray bottle
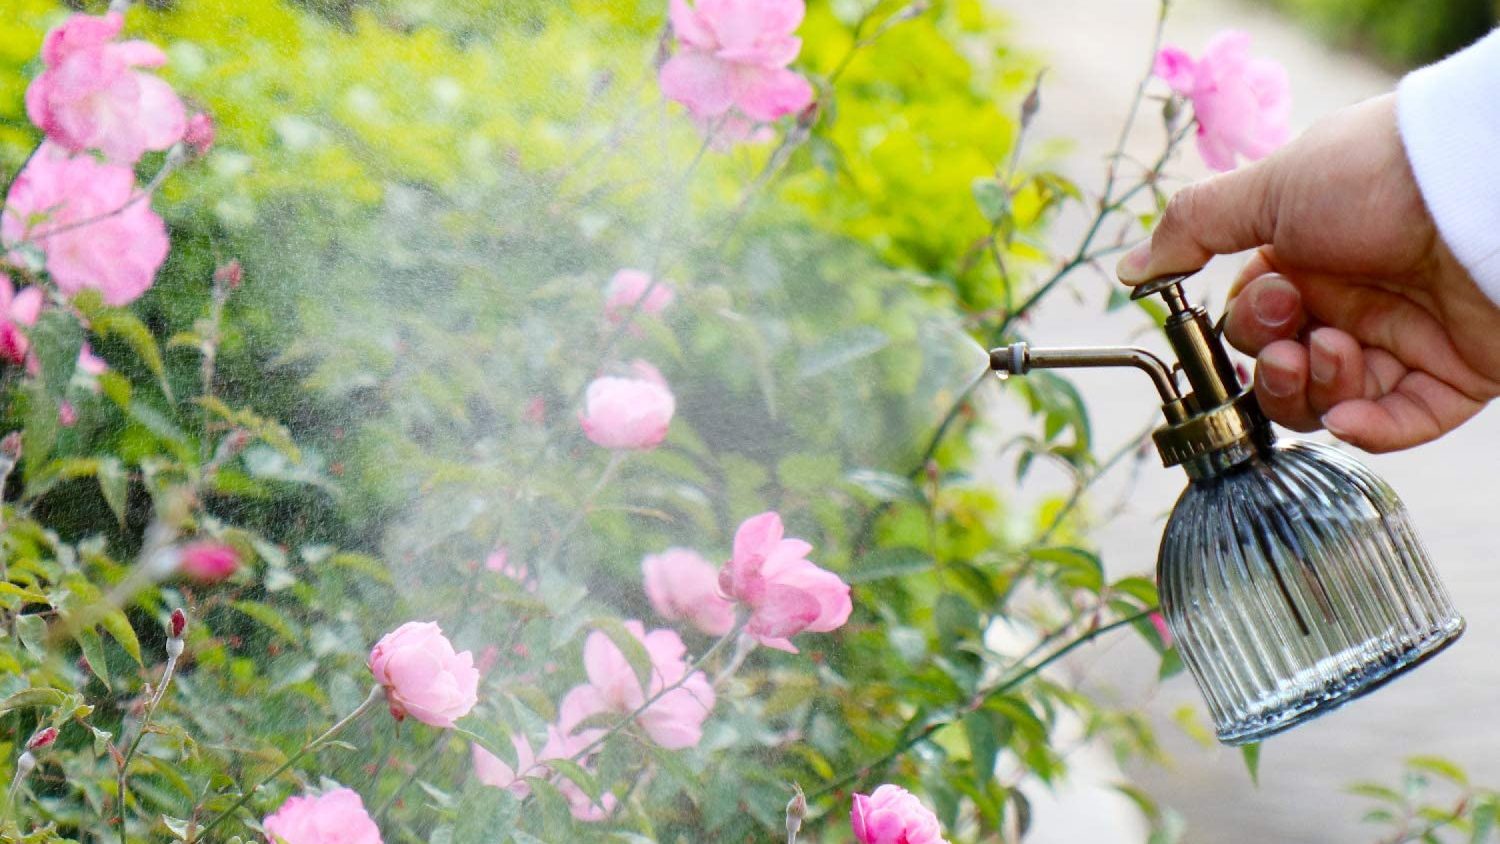
Many indoor plants, particularly tropical varieties such as ferns, orchids, and calatheas, thrive in a humid environment. Misting their leaves with a spray bottle helps to replicate their natural habitat, promoting healthy growth and preventing issues such as leaf curling, browning, and drying out.
In addition to creating humidity, spray bottles can also be used for applying diluted liquid fertilizer and spraying pest control solutions.
It’s important to note that not all plants require or appreciate misting. Be sure to research your specific plant’s humidity preferences; excessive moisture can lead to problems such as fungal infections and root rot.
When choosing a spray bottle, look for one that offers a fine, gentle mist to evenly distribute moisture without drenching the leaves. A good quality spray bottle should be easy to hold, have a comfortable grip, and be made from durable materials: we recommend the OFFIDIX Plant Mister.
If you’ve got tropical plants, you’ll quickly notice a difference in their health and happiness after incorporating regular misting into your plant care routine!
9. Pruning shears
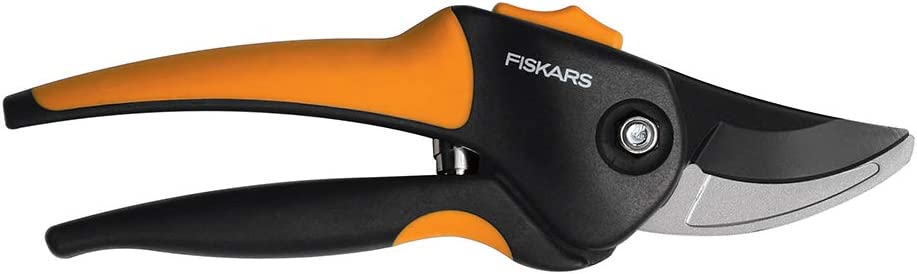
Regular pruning helps promote growth, remove dead or diseased parts, and maintain the desired shape and size of your plants. There are several different types of pruning shears you can use to get the job done, each suited to different tasks:
- Bypass shears: These are the most common type of pruning shears, featuring two curved blades that pass by each other like scissors.
- Anvil shears: These shears have one sharp blade that cuts against a flat, anvil-like surface. Anvil shears are better suited for cutting through dead or woody branches.
- Needle-nose shears (snips): These shears have long, narrow blades that allow for precise cutting in tight spaces or for delicate plants. They are perfect for trimming small stems and leaves.
For beginners, we recommend starting with bypass shears (ex: Fiskars Softgrip Bypass Pruner), as they are versatile and ideal for making clean cuts on live stems and branches.
Knowing when and how to use pruning shears is crucial for the well-being of your plants. For most indoor plants, the best time to prune is during their active growing season, typically spring and summer. During this period, plants can recover more quickly from the stress of pruning.
When using pruning shears, make clean, sharp cuts at a 45-degree angle, about 1/4 inch above a leaf node or bud. This encourages new growth and minimizes the risk of infection or disease. Always sterilize your pruning shears before and after each use to prevent the spread of diseases between plants.
Snip, snip, hooray!
10. Plant labels
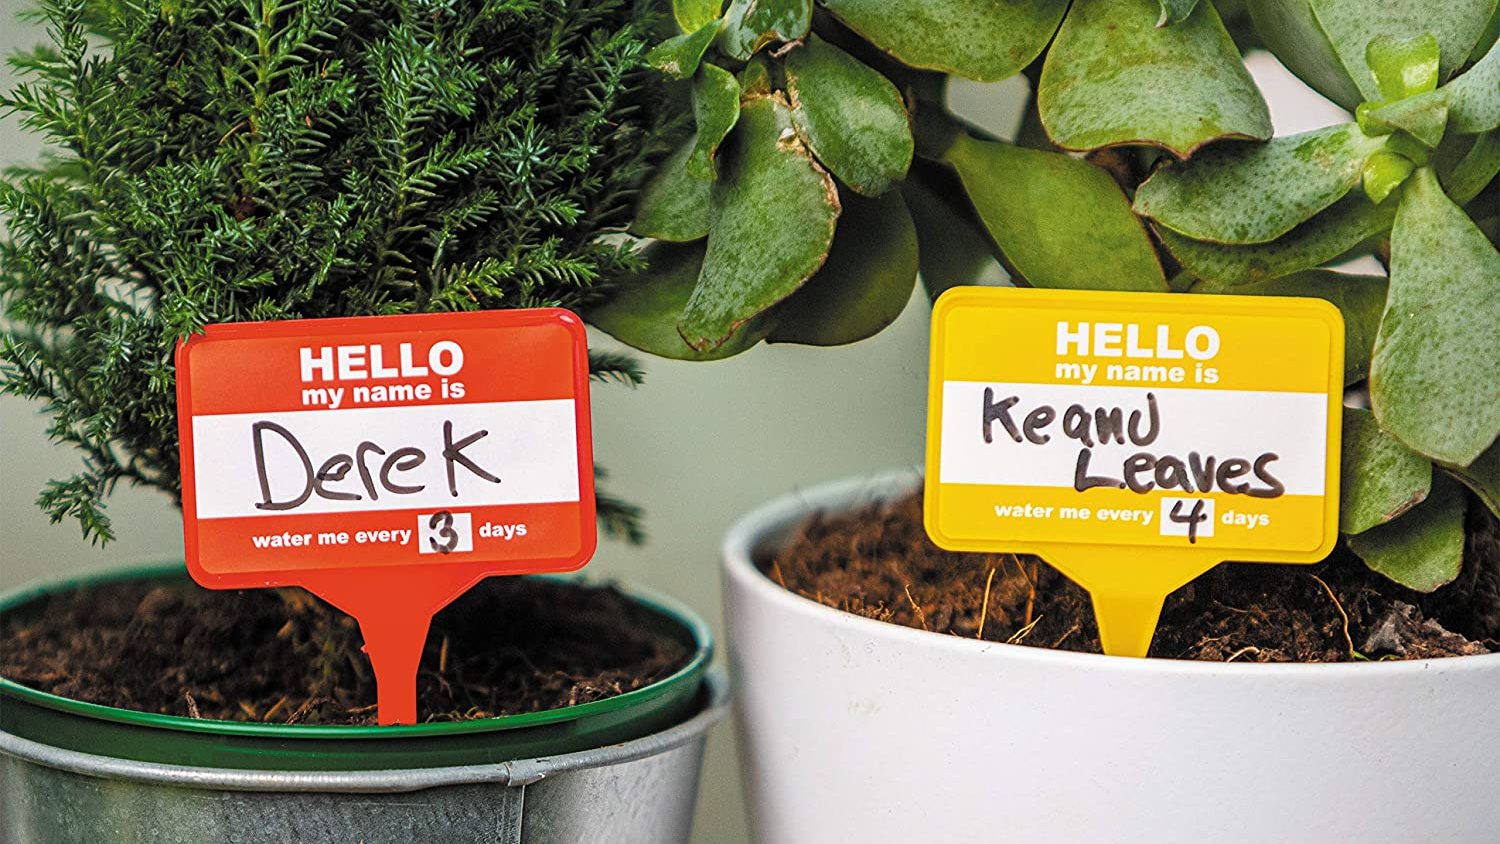
Plant labels are like the little name tags for your green buddies, helping you keep tabs on your growing collection. With these nifty accessories, you can jot down essential info for each plant, like watering schedules, when to feed them fertilizer, or even the last time they had a pot upgrade.
The labels are especially helpful when some of your plants have a striking resemblance to one another. For example, let’s say you have a pothos (Epipremnum aureum) and a heartleaf philodendron (Philodendron hederaceum). While they might look alike at first glance, they have slightly different care requirements. Not only will the plant labels help fuel your green thumb education, you’ll also have a little cheat sheet when it comes to their care.
Plant labels come in a wide variety of styles, like the fun “Hello My Name Is” plant labels shown above. Whatever you choose, make sure they’re durable and weatherproof. Pick the look you like, write the deets on it, stick it in soil at the base of your plant pupils, and make every chlorophyll classmate easily identifiable… roll call!
11. Magnifying Glass
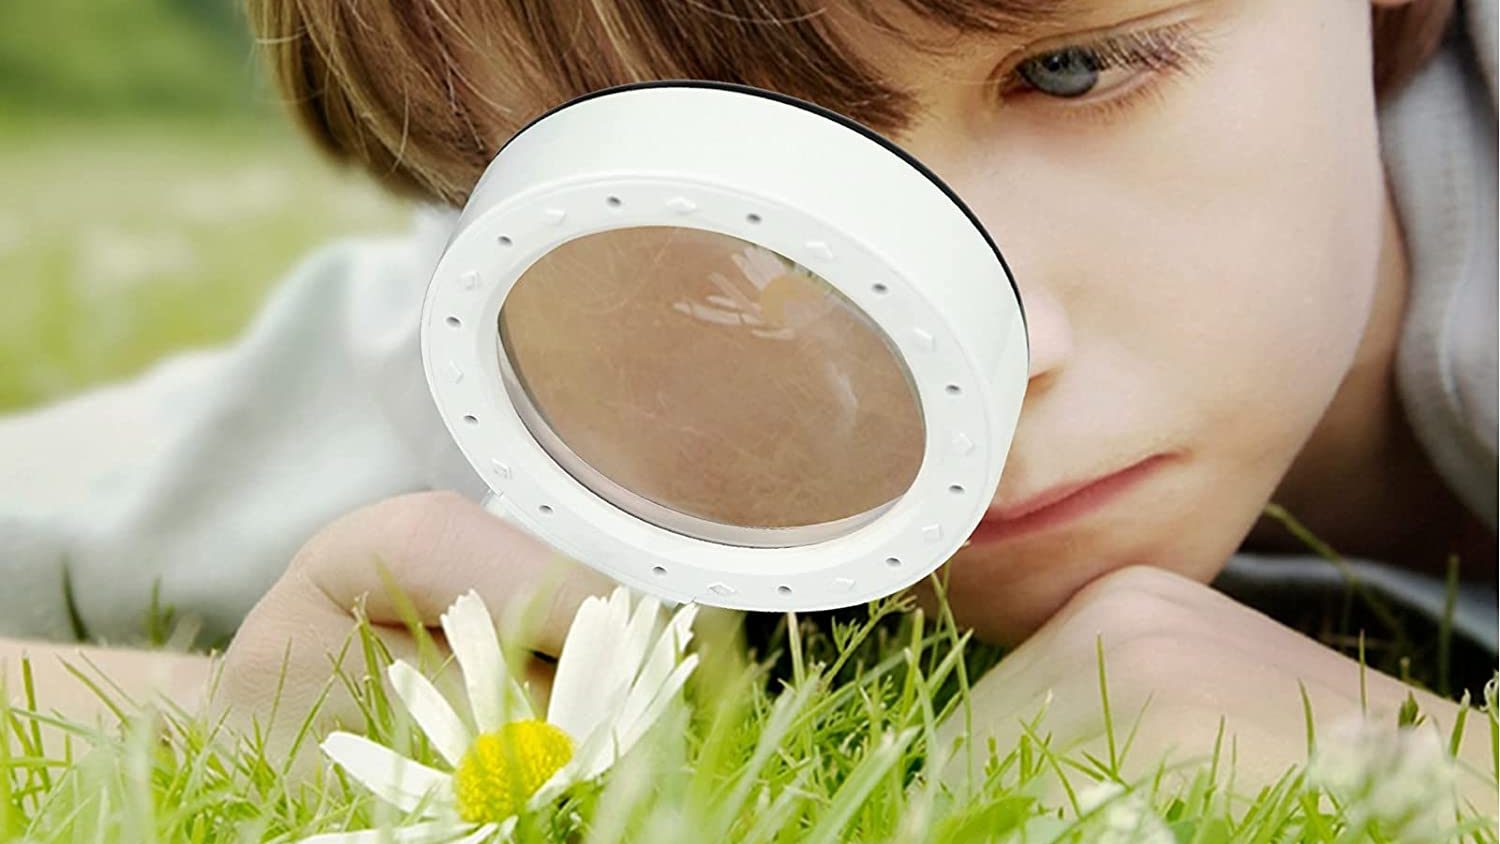
A well-lit magnifying glass may seem like something straight out of a detective movie, but it’s actually a valuable tool in the plant care world. You’ll be the Sherlock Holmes of your indoor jungle, inspecting your plants for pesky intruders or signs of disease.
By catching issues early on, you can help prevent problems from spreading, keeping your indoor oasis healthy and thriving. So put on your detective hat, grab your trusty magnifying glass, and illuminate those nooks and crannies – your plants are counting on you!
One great model you can try is the AIXPI Magnifying Glass which has 30X magnification, LED illumination, and an unbeatable price.
12. Plant Care Toolkit
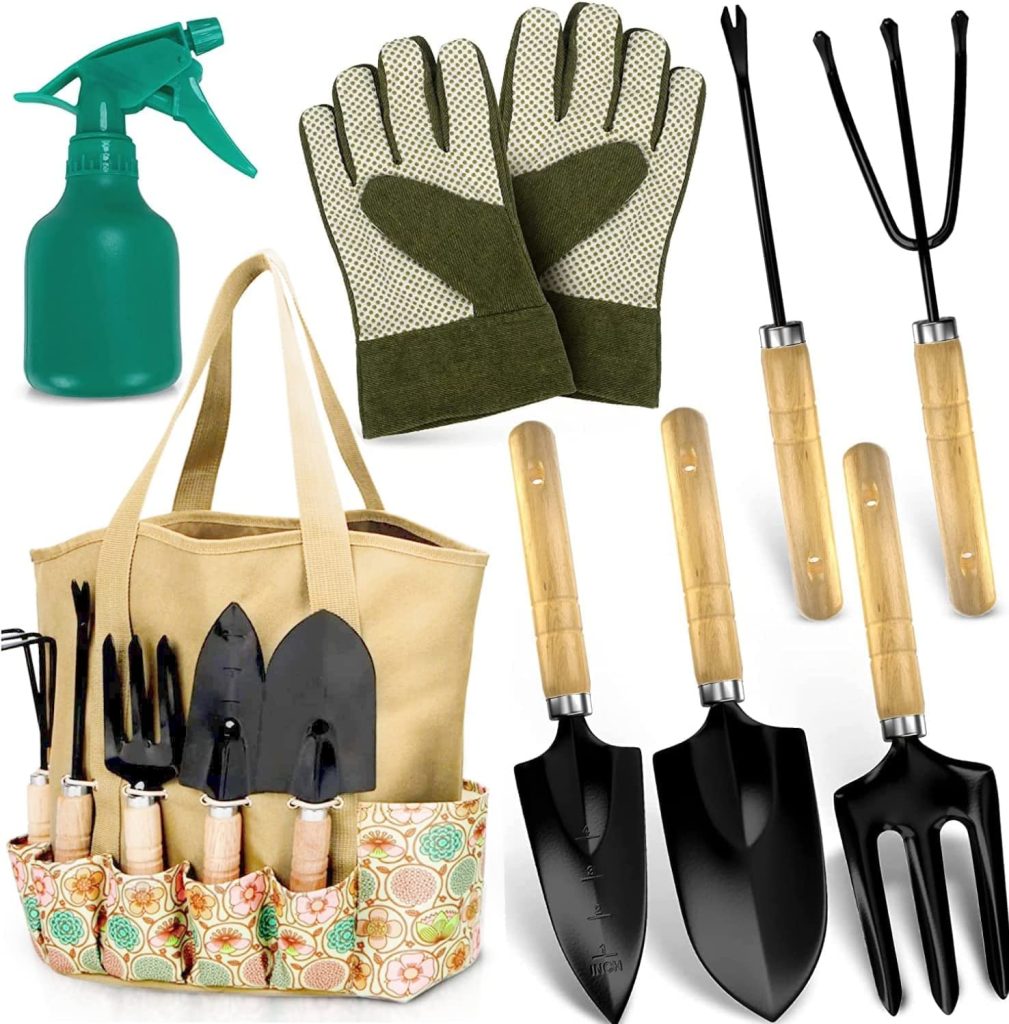
Rounding out our list of essential tools, we have the ultimate time and money-saver: a Plant Care Toolkit! This all-in-one package is like the Swiss Army knife of plant care, bundling together many of the must-have tools we’ve discussed.
Opting for a Plant Care Toolkit is not only a fantastic way to cover all your bases, but it’s also an incredibly convenient and cost-effective solution, especially for beginners. Instead of hunting down each tool individually, you can grab a well-curated kit and dive right into pampering your plants.
One highly recommended Plant Care Toolkit is the Scuddles Garden Tools Set, which includes high-quality versions of many essentials we’ve mentioned. This comprehensive kit ensures you’re well-equipped to tackle any plant care task and keeps everything neatly organized in one handy storage container.