
A Beginner’s Guide to Watering Indoor Plants
Are you ready to embark on a thrilling journey into the world of houseplants? It’s time to get your green thumbs prepped because properly watering your indoor plants can make all the difference between a lush, thriving collection and a sad, drooping disaster. But don’t worry, we’ve got you covered!
In this “Beginner’s Guide to Watering Indoor Plants,” we’ll share all the essential tips and tricks you need to keep your leafy friends happy and healthy.
1. Know your plant
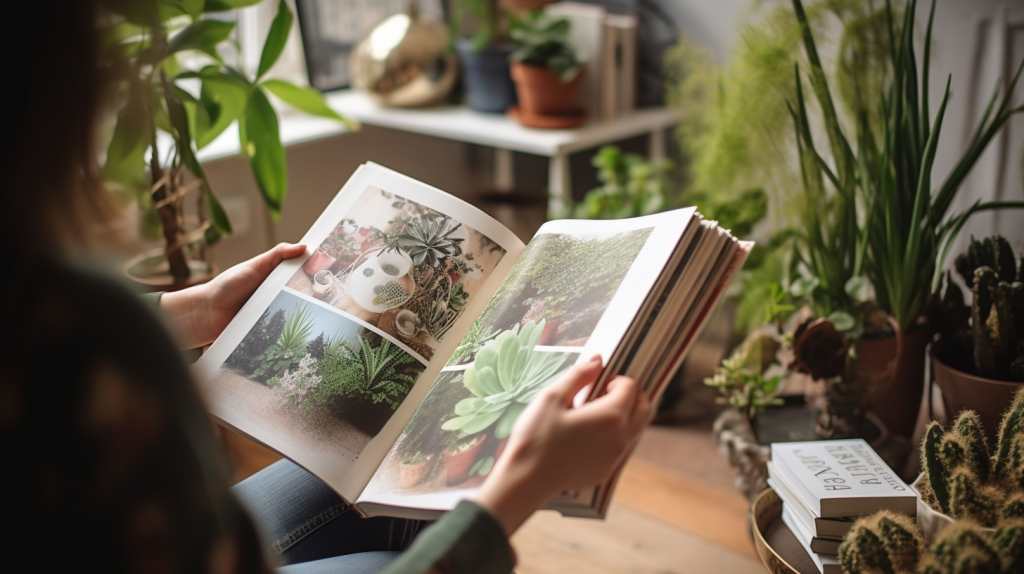
Before you can effectively care for your indoor plants, it’s crucial to understand their specific watering needs. Different plants have unique requirements in terms of how often and how much water they need. Take the time to research your plant’s specific watering preferences and natural habitat to provide the best care possible. You can find this information online or through books dedicated to indoor plant care. Understanding your plant’s needs will ensure you provide the right amount of water and prevent common issues like overwatering or underwatering.
You can find and learn more about your plants’ specific needs in our plant directory.
2. Get the right pot
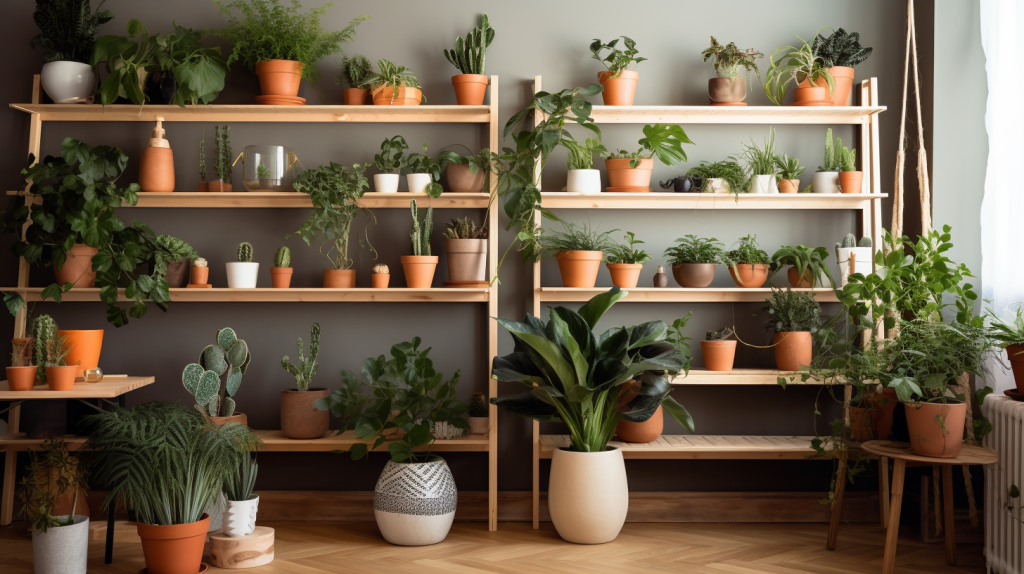
Choosing the right pot for your indoor plant plays a crucial role in proper watering. There are three key elements to which you’ll want to pay special attention:
- Pot Size: make sure you pick a pot that gives your plant’s roots room to grow, but not so much room that you’re wasting water on untouched soil. Pots that are too small will quickly make your plant “root bound”, which means the roots of your plant start wrapping around the bottom of your pot. Not only does this suffocate new growth, it also increases the chance of root rot when your plant gets a bit too much water.
- Pot Material: The material of your pot can also make a huge difference. Plastic, fiberglass, and metal pots retain moisture longer, while terracotta, ceramic, and concrete pots offer more breathable solutions. Don’t place your plant directly in a soiled-up plastic, fiberglass, or metal pot; instead use it as a decorative outer shell and insert a plastic nursery pot that that contains your plant. On the other hand, it’s fine to put your plant directly into terracotta, ceramic, or concrete pots as moisture is able to escape through the pot’s walls, preventing root rot.
- Pot Drainage: Regardless of what pot you choose,a proper drainage plan is absolutely essential to your plant’s health. If you keep your plant in the plastic nursery pot in which it came, you can plop it in a decorative pot without holes to make it look pretty, but stick some gravel at the bottom so it’s never sitting in a pool of water (this is how root rot happens). If your outermost pot has holes for drainage, you’ll want a saucer to catch excess water.
For plants that enjoy consistently moist soil, you may want to consider a self-watering pot. These pots are anchored by built-in water reservoirs and usually feature a wick that steadily soaks up water, lifting it into the soil. Keep in mind that many low-maintenance plants, including hard-to-kill houseplants that are best for beginners, prefer their soil to dry out between waterings.
3. Include a saucer that fits
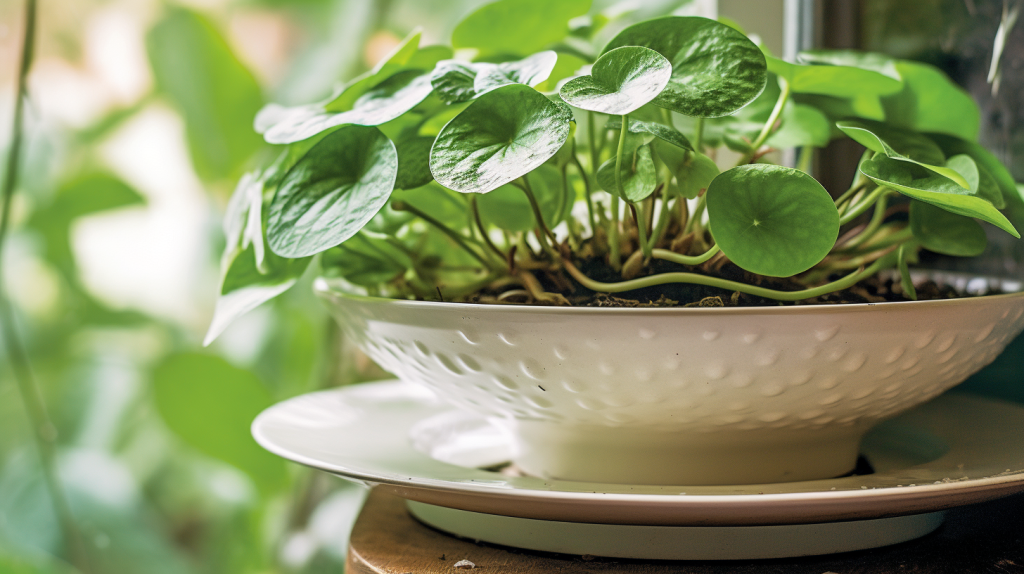
Almost every houseplant pot should include some sort of drainage holes at the bottom, but if your outermost pot has the holes, you’ll also want a saucer.
If you’re properly and thoroughly watering your plants, it’s normal for excess water to drain from the bottom of the pot. The saucer will catch the excess water that passes through, preventing damage to the household surfaces where your plants live, like countertops, shelves, desks, tables, and floors.
It’s essential that you choose the right size saucer for your pot so it effectively catches water without spilling over. For traditional pots that are wider at the top, gradually narrowing towards the bottom, a safe rule of thumb is make sure your saucer is the size of your pot’s top or larger. There’s no danger in getting a saucer that’s too big, aside from looking a bit silly, but style is personal so do your thing!
After watering, you can allow your plant to sit in the excess water in the saucer for a short period, enabling it to absorb moisture from the bottom. However, it’s essential to empty any remaining water from the saucer after a couple of hours to prevent root rot, especially if your plant’s roots reach the bottom of your pot.
4. Use well-draining soil mix
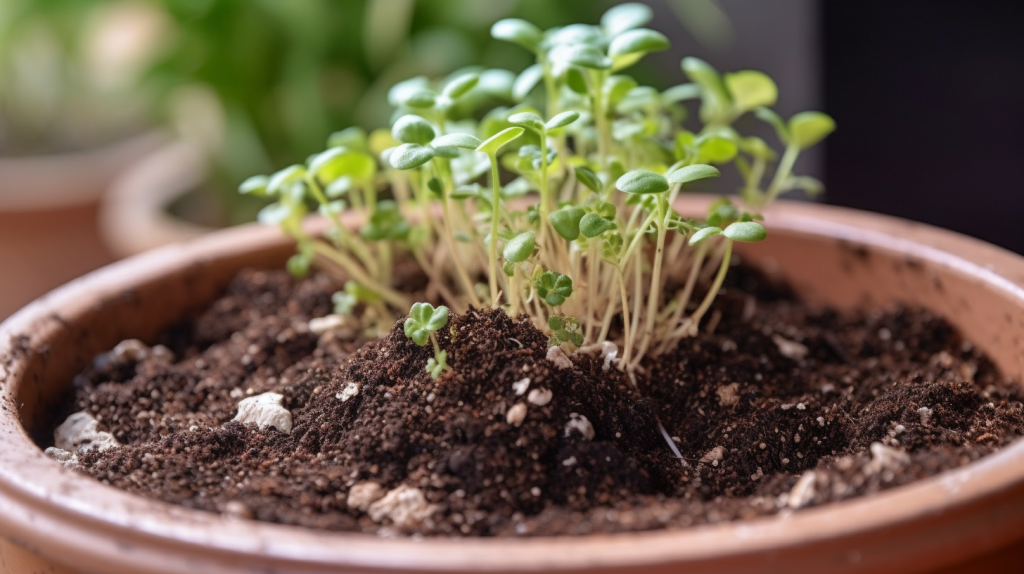
Using a well-draining soil mix is essential for the health of your houseplants. A good soil mix allows water to flow through it easily, preventing waterlogging and promoting healthy root development. The soil quality in potted plants is almost always poor when first purchased; plan on repotting them so you can give them the ideal home. They’ll thank you for it!
Different plants have specific soil requirements, so make sure to choose a mix that suits your plant’s needs. For most houseplants, a general-purpose potting mix, like Miracle-Gro Indoor Potting Mix or FoxFarm Ocean Forest Potting Soil, with added perlite or vermiculite for improved drainage works well. You can find these mixes at your local garden center or online retailers like Amazon.
Succulents and cacti typically require a specialized soil mix with a higher sand content to mimic their natural environment. A popular choice for these plants is the Miracle-Gro Cactus, Palm & Citrus Potting Mix or Espoma Organic Cactus Mix, both available at home improvement stores and online retailers.
Remember, investing in the right soil mix will not only ensure proper drainage but also provide essential nutrients to keep your plants thriving. Happy planting!
5. Check the soil before watering

One of the most important steps to watering indoor plants is to check the soil’s moisture level before adding more water. Overwatering can cause root rot and other problems, so it’s crucial to ensure your plant actually needs water. When plants appear to be unhealthy or dying, many plant owners assume they need more water and drench them, accidentally drowning their plant in the process.
To check the soil’s moisture, stick your finger about an inch into the soil. If it feels dry at that depth, it’s time to water your plant. If it’s still moist, wait a day or two and check again. Keep in mind that different plants have varying moisture preferences, so familiarize yourself with the specific needs of your plants.
For those interested in a more precise way to monitor soil moisture, consider investing in a soil moisture meter or a hygrometer. These tools provide an accurate reading of the moisture levels in your soil, taking the guesswork out of when to water your plants. Popular options include the Dr. Meter Soil Moisture Sensor Meter and the Gouevn Soil Moisture Meter, both available at home improvement stores and online retailers. By using these handy devices, you can take the guesswork out of ensuring your plants drink the right amount of water.
6. Don’t overwater!
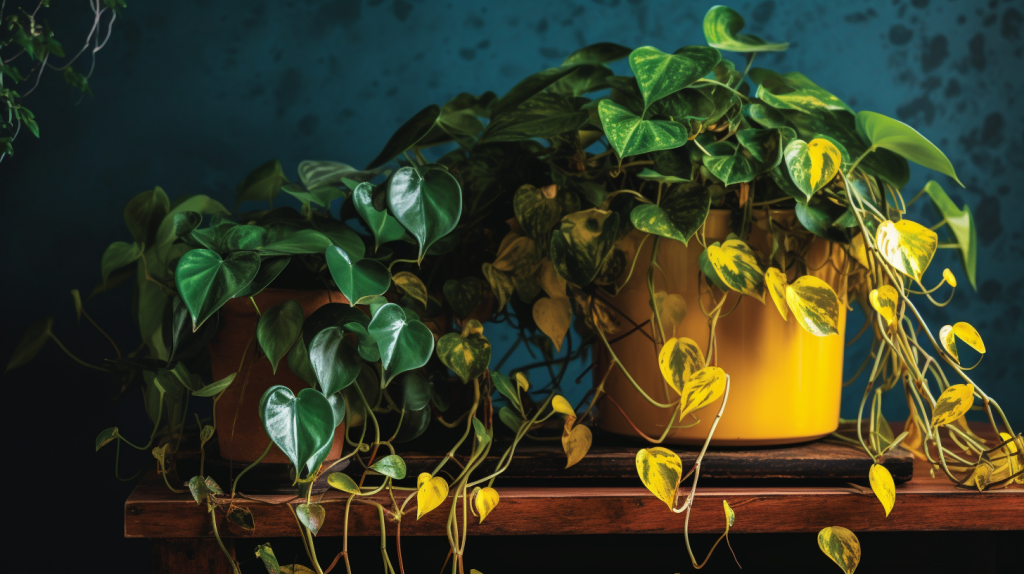
Overwatering is the most common mistake made by beginner plant owners- we cannot stress this point enough! Too much water leads to root rot, yellowing leaves, and ultimately, the death of your plant.
To avoid overwatering, make sure you know your plant’s watering guidelines and check the soil’s moisture level before watering. Remember, it’s generally better to underwater than to overwater. Once you know know the signs it’s easy to differentiate between overwatered and underwatered plants:
- Overwatered plants may have yellowing leaves, wilted stems, and a moldy or rotting smell.
- Underwatered plants have dry, crispy leaves, and the soil may pull away from the sides of the pot.
If you suspect your plant has been overwatered, don’t worry- there’s still hope! Here’s how you can nurse it back to health:
- Remove the plant from its pot.
- Trim any rotten or damaged roots with a clean pair of scissors.
- Allow the roots to air out for a few hours to help them dry and recover.
- Repot the plant in a clean pot with fresh, well-draining soil.
- Water the plant sparingly for the next few weeks, allowing the top inch of soil to dry out before watering again.
By following these steps and learning to recognize the signs of overwatering, you can help your plants thrive.
7. Try different watering techniques
Different plants have different watering preferences and it’s essential to find the most suitable method for each. Try using different combinations of tools and techniques to find what works best for you:
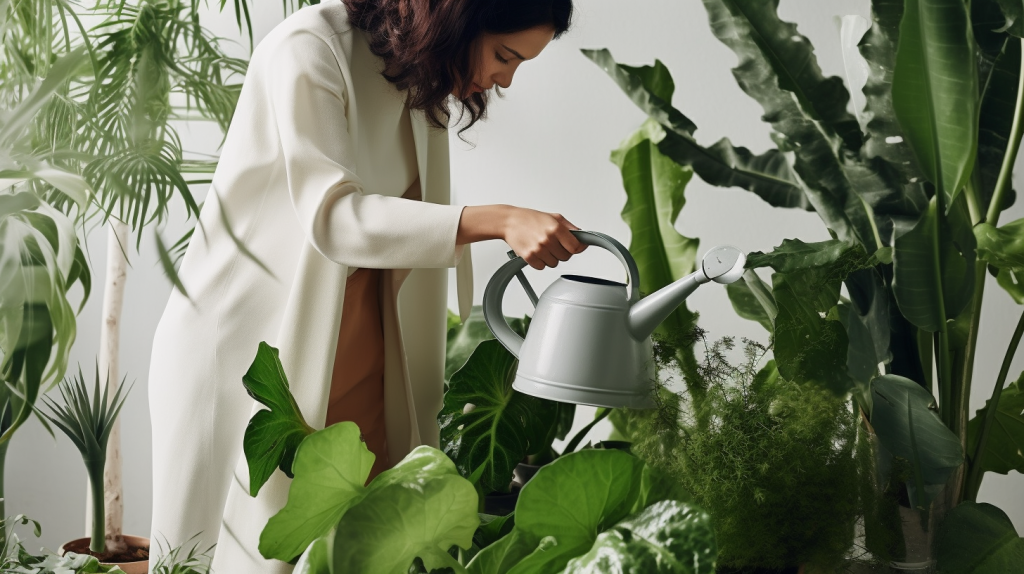
- Watering cans: A watering can is a must-have for all plant owners. Find one with a long, narrow spout that allows for precise watering, helping you to avoid splashing and overwatering. A popular choice for this type of watering can is the Haws Indoor Watering Can.
- Rose attachment: A rose attachment provides gentle, even distribution of water across the soil surface, much like a shower. It’s particularly beneficial for delicate seedlings and young plants. You can either buy a Rose attachment that fits onto your watering can or buy a watering can that’s specifically and permanently fitted with a rose head.
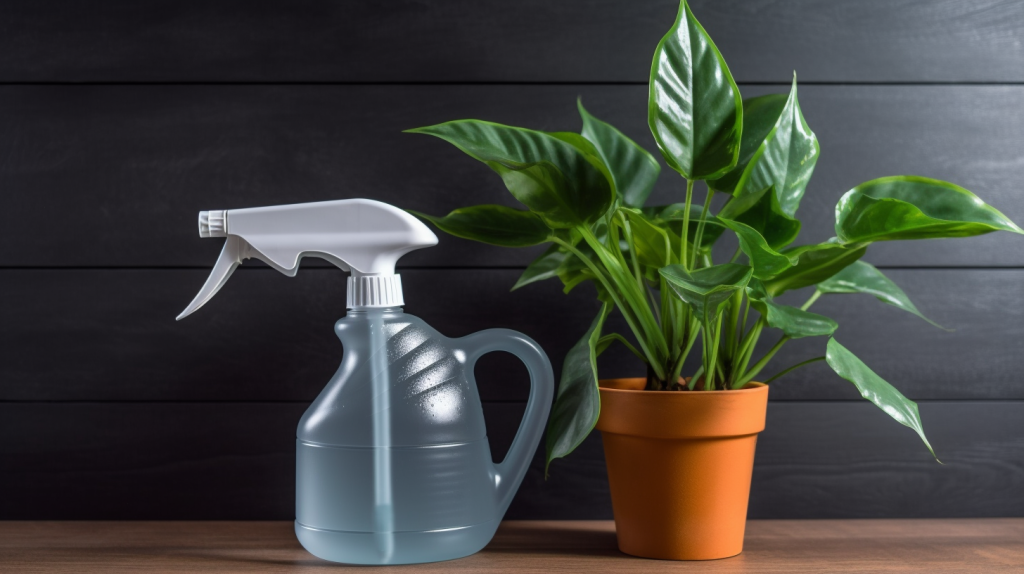
- Misting: Some plants, especially tropical ones that love humidity, can greatly benefit from misting. Gently spraying water onto the leaves creates a humid environment that mimics their natural habitat. Be cautious not to overdo it, as excessive moisture on the leaves can lead to fungal issues. The Exo Terra Mini Mister is a cheap and handy tool for getting the job done.
- Bottom watering: This method allows the plant to soak up water through the drainage holes at the bottom of the pot, encouraging deep root growth and preventing overwatering. There are several ways to achieve bottom watering:
- Self-watering pots, like the Lechuza Classico Self-Watering Planter, have a built-in reservoir that stores water and provides it to the plant as needed.
- Placing your plant in a container filled with water, such as the Hydrofarm Active Aqua Tray, allows the roots to access moisture directly.
- Pouring water into the saucer beneath the pot, like the Curtis Wagner Round Clear Vinyl Plant Saucer, can also provide moisture to the plant roots, although it may not be as efficient or thorough as other techniques.
- Watering globes: Watering globes are decorative glass or plastic bulbs that slowly release water into the soil. These are a stylish and practical way to keep your plants hydrated, particularly when you’re away for short periods. The Wyndham House Watering Globe Set is a beautiful option for this purpose.
- Drip irrigation systems: these systems are designed to deliver water directly to the plant’s roots through a network of tubing and emitters. This ensures that the plant gets the right amount of moisture without overwatering and keeps your indoor surfaces dry. The Blumat Drip Irrigation System is a suitable option for indoor gardens or plant setups.
For beginners, it’s best to start with a watering can with a long, narrow spout for precise watering, and experiment with bottom watering techniques. As you gain experience and learn more about your plants’ specific needs, you can explore other methods and accessories to find the perfect watering routine for your indoor garden.
8. Water plants in the morning or evening
Watering your indoor plants in the morning or evening is generally best. The temperature is cooler and evaporation rates are lower, allowing the water to be absorbed more efficiently by the plant roots. Watering during the heat of the day can lead to faster evaporation and may not provide your plants with enough hydration to sustain them. Moreover, watering in the evening helps the plant prepare for nighttime when it undergoes a slower metabolic process and conserves energy.
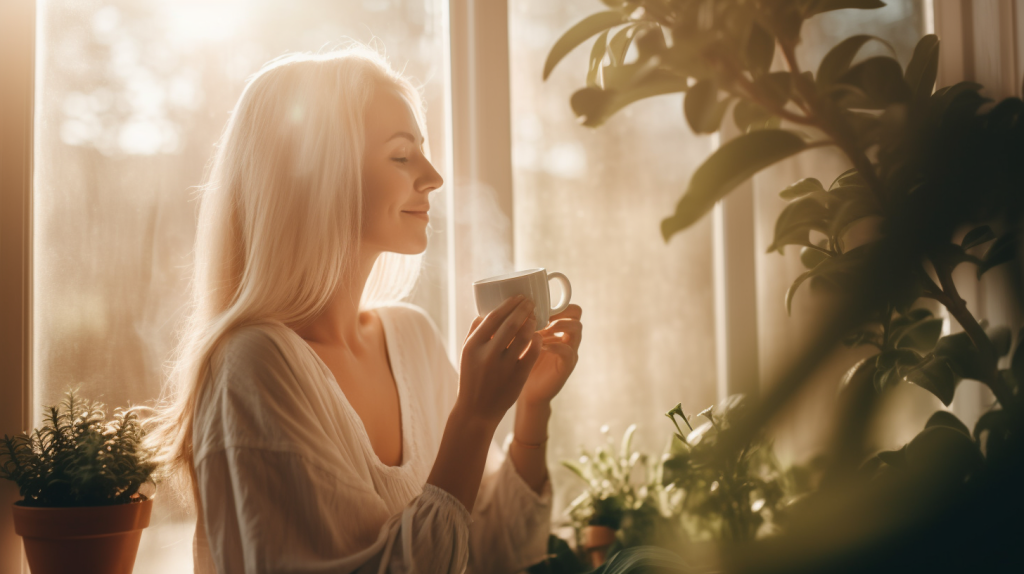
It may be helpful to include a plant checkup into your daily routine, for example, checking soil moisture while you sip your morning coffee. Not only will this ensure your plants don’t get neglected, but it can also relieve stress and provide meditation-like benefits. Perhaps best of all, you’ll be creating a consistent level of observation that will allow you to enjoy watching your green friends grow.
9. Change with the seasons
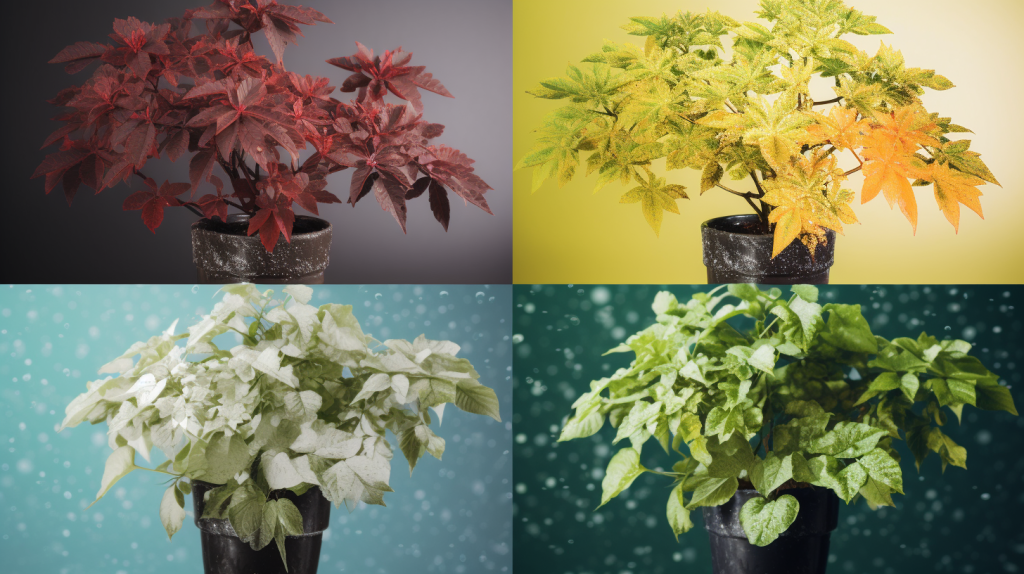
As the seasons change, so do the needs of your indoor plants.
During the warmer months, your plants will generally require more frequent watering as they drink more, grow more, and lose more water to evaporation. Conversely, in the colder months, your plants will enter a period of dormancy where their growth slows down and they drink less. It’s crucial to adjust your watering schedule accordingly to prevent overwatering or underwatering.
If you’re regularly checking soil moisture, you should be able to easily make these adjustments. If you’re using drip irrigation or another automated watering method, don’t forget to tweak your output. Being mindful of the seasonal changes can help you provide the best care for your indoor plants throughout the year.
10. Use the right type of water
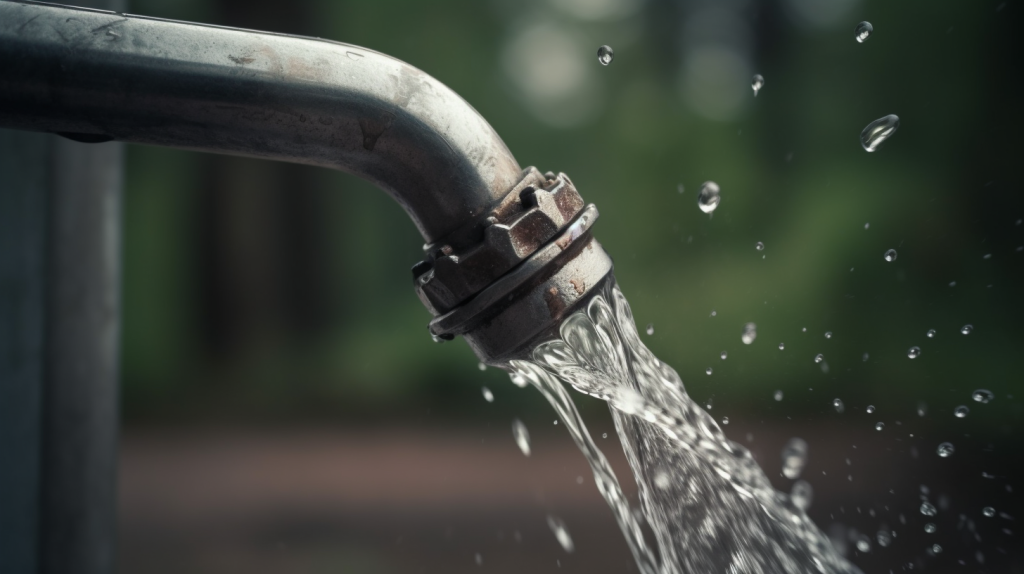
Believe it or not, the type of water you use for your indoor plants can affect their overall health.
- Tap water often contains additives like chlorine and fluoride, which, in some cases, can be harmful to plants.
- Rainwater is naturally free of these additives and is an excellent choice for watering your plants.
- Filtered or distilled water, which has had most impurities removed, is a great alternative to rainwater if your tap water is giving your plants problems.
Additionally, some plants are sensitive to the temperature of the water; using room-temperature water is generally the best practice. Avoid using very cold or hot water, as this can shock the plant’s roots and cause stress (or worse).
If your plants are constantly dying and you absolutely know you’re giving them the right amount of water, maybe the problem is in the water itself! Using a water test kit such as the API Freshwater Master Test Kit, you can check for various parameters such as pH, ammonia, and nitrate levels. With the results from the test kit, you can determine if your tap water is suitable for your plants or if you need to consider using filtered or distilled water.